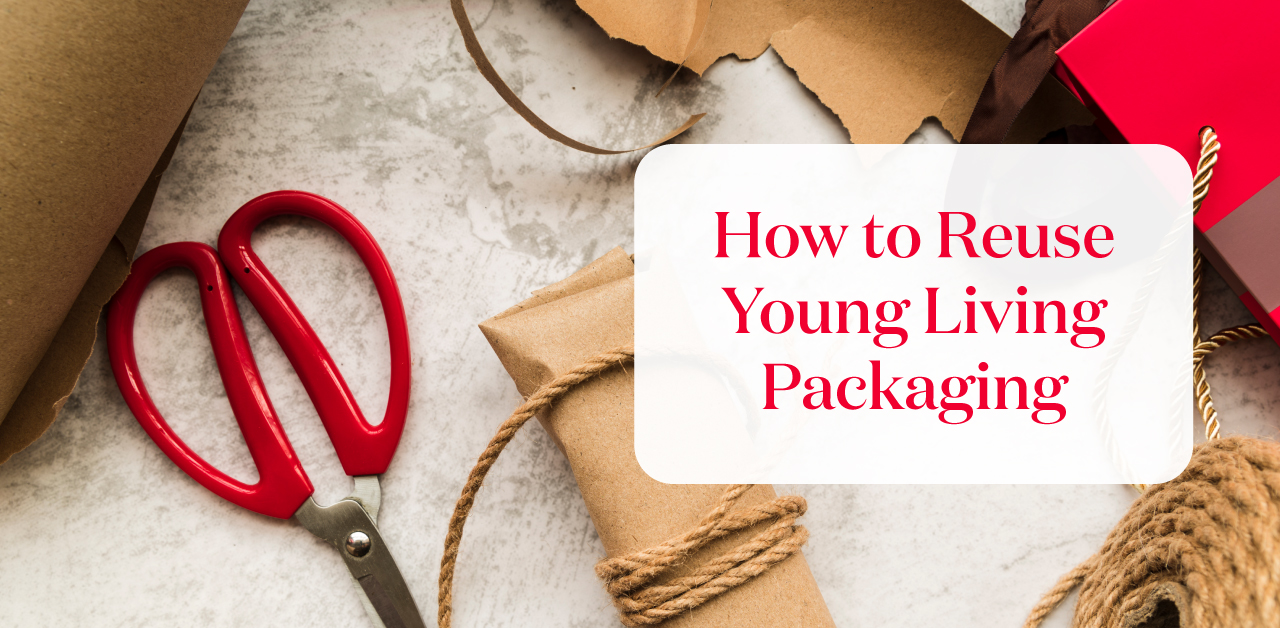
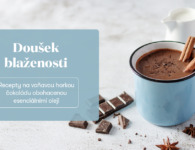
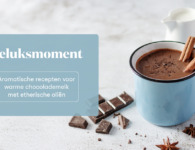
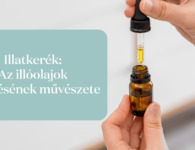
Protecting the environment has become an urgent global priority, and being passionate about it is more crucial than ever. Here at Young Living, we’re constantly finding new ways to be even better environmental stewards, from big stuff like innovating and implementing environmentally friendly farming practices to little things like offering efficient recycling programmes at our offices and facilities. It’s also important for us to make it as easy as possible for you to recycle and repurpose our packaging. Reusing packaging is an effective way to reduce waste, conserve resources, and minimise your ecological footprint. In this blog, we will explore various ideas and tips, sourced from the vibrant Young Living community, on how to “upcycle” Young Living packaging and give it a new life.
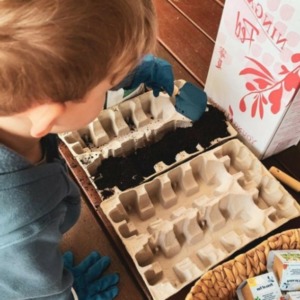
Make your own seed starter
There’s something so rewarding about growing your own food. Plus, it’s better for you and the planet! Try creating your own veggie patch using your old Young Living packaging. It’s easy to make and can be even more fun when you get the kids involved!
WARNING: Things may get a little messy!
What you’ll need:
- NingXia Red® packaging inserts
- Potting mix
- Seed sachets
- Water
How to:
- Grab your NingXia Red® packaging inserts and pop them in the ground where you’d like your veggie patch to grow.
- Grab whatever seeds you’d like to plant.
- Fill the grooves of the packaging with a good-quality potting mix. Place the seed sachets in the soil, top with a light layer of soil, and add water.
- Wait for the results.
- Transfer seedlings to a garden spot with some sun, drainage, and enough water!
Tip: This will definitely be a lesson in patience for your kids. They may start looking to see if there’s anything green emerging after about two hours!
Make your own custom foaming hand soap
Making your own foaming hand soap is super easy and a great way to recycle your foaming pump bottles.
What you’ll need:
- Empty Thieves® Foaming Hand Soap bottle
- 2 tablespoons Young Living Bath & Shower Gel Base
- Label maker
- 20 drops Lemongrass essential oil
- Water (about 240ml, boiled and cooled)
How to:
- Clean and sanitise the empty bottle.
- Remove the bottle label.
- Add 2 tablespoons Bath & Shower Gel Base.
- Add 20 drops Lemongrass essential oil.
- Top with boiled and then cooled water.
- Give the bottle a gentle shake before use.
Tip: If Lemongrass isn’t your favourite, switch out the essential oil to achieve your preferred aroma.
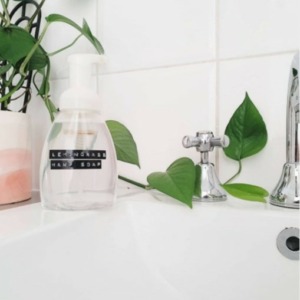
Submission by @green_plant_pharmacist
Make your own unique gift wrapping
Create your very own custom gift wrapping using your Young Living packaging! You can use a variety of items you already have at home to create beautiful, unique gift wrapping. As a bonus, you’re not only saving money—you’re also doing your bit for the planet. Talk about a win-win!
What you’ll need:
- Young Living packaging
- Decorative string
- Dried flowers
How to:
- Cover your gift in YL packaging for that boho look.
- Wrap in some decorative string or ribbon that you may have lying around the house.
- Thread your dried flowers through the string to finish off your gift wrapping.
- There you have it: beautiful packaging that didn’t cost a penny!
Craft your own recycled bottle vase
Vases can add a sophisticated touch to any home, but quality ones can be an expensive investment. Why not get creative and make your own vases at home using your old NingXia Red® drink bottles? They’re the perfect size for table decorations, and you can customise them to suit your own unique style. This vase is so easy to make—and it’s a fun activity to do with your friends!
What you’ll need:
- Clean NingXia Red® bottle
- Chalk paint
- Paintbrush
- Glue
- Lace trim
How to:
- Paint the entire bottle with chalk paint and allow it to dry completely.
- Cut three pieces of lace trim (two 2 x 10 cm and one 1 x 15 cm).
- Glue the two shorter pieces around the neck of the bottle; hold until dry.
- Glue the 15 cm piece onto the lower section of the bottle; hold until dry.
Tip: For a little extra challenge, try making your own paper palms, flowers, and leaves.
Submission by @lelia.roze
Create your very own essential oil-inspired wall art
Save your essential oil bottles for beautiful home decor pieces! There are so many things you can do with them. Get creative!
What you’ll need:
- Wooden board
- 3 essential oil bottles
- Scissors
- Glue
- Twine
- Dry plants or lavender
How to:
- Cut the twine and glue the ends to the top two corners of the wood board to create a hanger.
- Place dried or real plants in the bottles and hang your DIY wall art!
Submission by @_kellie_louise_
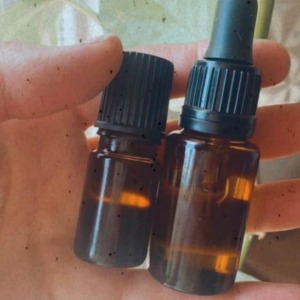
Put together your own essential oil roller bottles
Why buy roller bottles when you can reuse your pre-loved essential oil bottles? Even better, they’re tinted, so the sun can’t spoil your oil.
What you’ll need:
- Empty essential oil bottles
- AromaGlide® Roller Fitments
- Your choice of essential oils
- Young Living V-6® Enhanced Vegetable Oil Complex or another carrier oil
How to:
- Clean and sanitise empty essential oil bottles.
- Fill with carrier oil and your choice of essential oils.
- Pop on the AromaGlide Roller Fitments.
- Roll away!
Submission by Down to the last drop
Make your own travel toiletries kit
Use your empty oil bottles to carry your travel toiletries. Products like hair oil and face serum fit easily in a little essential oil bottle. They’ll also free up that much-needed space in your carry-on.
What you’ll need:
- Empty essential oil bottles
- Label maker
How to:
- Clean and sanitise empty essential oil bottles.
- Add your desired product to the bottle.
- Be sure to label your essential oil bottle with what it’s holding.
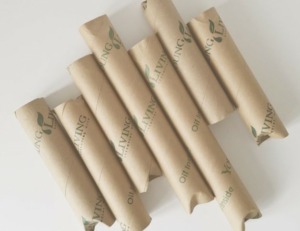
Make your own DIY fire starters
Getting cosy with a campfire in your garden this summer? Trying to get the fire roaring in the fireplace? Instead of wrestling with your lighter and a newspaper, make these handy fire starters that can be used at home or on the road.
What you’ll need:
- Essential oil bottle cardboard tube packaging
- Dryer lint
How to:
- Gather dryer lint and stuff the lint inside the roll until it’s completely full.
- Store pre-made fire starters in a safe, dry spot for future use.
- When ready to use, get your fire ready by making a pyramid-shaped kindling pile of wood. Place your fire starter in the middle of the kindling pile and light the dryer lint with a match or lighter.
Tip: Remember to thoroughly extinguish your fire before leaving the area or going to bed at night.
Like this blog and let us know how you like to reuse YL packaging!


No comments