
Whether you’re looking for new ideas to share Young Living or you’d like to get your friends together for your own girls’ night, hosting a Young Living make-and-take party is a great opportunity to meet new people, make some fun DIY projects, and show friends and neighbors that Young Living is more than just a drop of oil—that our products can easily and naturally complement any lifestyle.
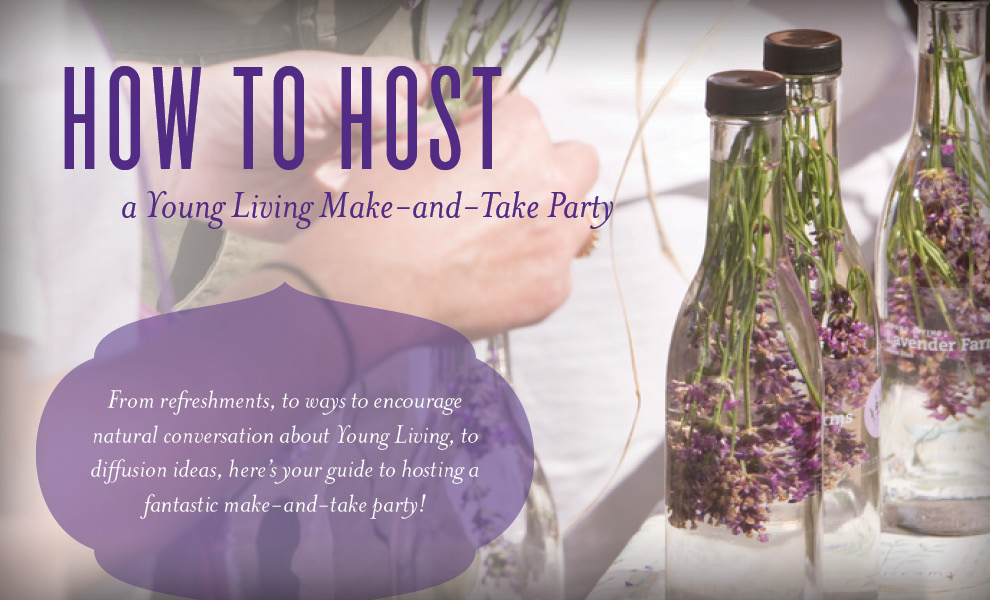
From refreshments, to ways to encourage natural conversation about Young Living, to diffusion ideas, here’s your guide to hosting a fantastic make-and-take party!
STEP 1: Make a Plan
 Pick a theme. Maybe go with a “Pamper Me” theme with bath salts, hand scrub, and foot lotion made with Lavender or Ylang Ylang essential oil. Or perhaps a “Daily Dose” theme with an invigorating morning Melaleuca Alternifolia face lotion, a fresh 2:30 p.m. roll-on with Frankincense essential oil, and a serene nighttime room spray with Lavender essential oil.

- Decide which refreshments you’d like to serve. Keep your finger food simple and light. Try a fruit or vegetable tray with dip, or try crackers and cheese. You can even include Young Living essential oils in your refreshment spread. Try lemonade made with citrus essential oils, hot chocolate with Cinnamon Bark or Orange essential oils, or a vegetable dip with Dill essential oil.
- Make a shopping list of the DIY project ingredients, project containers, decorations, bowls and utensils for assembling, and refreshments.
- Decide what amount you feel is appropriate to charge your attendees for each DIY project. You can use PayPal or Venmo or ask people to bring cash to the party.
STEP 2: Get the Word Out
- Decide how many people you are comfortable hosting, and then over-invite. Remember, people get busy and not everyone you invite will be able to make it.
- 2–3 weeks prior to your party, send out invitations. You can create a Facebook event or send any combination of emails, texts, and printed invitations.
- Closer to the date, send reminders and get a final count on RSVPs.
STEP 3: Pre-Party Setup
 Print handouts of the ingredients and instructions for your DIY projects.
- Have Young Living resources placed around your home, so people can browse during any downtime. We recommend the 2015 Product Guide and any resources you have on essential oils and their uses.
- Set up different stations for each DIY project to avoid overcrowding in one area. Organize tables with all the containers, ingredients, and measuring utensils laid out in order of assembly. Tip: Use white plastic tablecloths and write instructions by each step with a black permanent marker.
- Set out your refreshments.
- Set the mood and diffuse oils that will add to the feel of the party. For an uplifting vibe we recommend Joy or Bergamot. Play music that will complement your event.
- Prepare to say “thank you” to guests as they leave with a small take-home bag. You could include your business card with an essential oil sample, information about how to become a member, and a homemade treat made with essential oils. Set the bags out in a basket by your front door.

 STEP 4: Party Time!
- Once guests have arrived, start the night by having everyone introduce themselves.
- Explain what you’ll be making, how to use the projects, and their benefits. Then start assembling the goodies!
- Ensure everyone leaves with a take-home package.
Step 5: Post Party
- For those interested, follow up with a class introducing Young Living products.
Check out our post for holiday gift make-and-take party ideas!
Special thanks to Young Living member Nance Ciasca for her party expertise and tips.
Do you have any other tips for a smooth-sailing party? We’d love to hear them in the comments!


Please add me to this group. YL #1754289
please add me to this group YL #11411739
Please add me to the group. Thank you. #1773681.
You have so many, where to start? I’ve been with YL for almost a year and now have experimented with a few. These are great!
Please add me to this group. Thank you very much. #3743183
I would like to be added to the group. #11016350
Please add me to this group. Thank you 11279130
Please add me to this group! #11293194
Thank you!
Can I be added to the make and take group?? #10901992
please add me to the fb group, fb email lizpeck13@yahoo.com. #11558197
Please add me to this group. Thank You #10179930
Please add me to this group #1581681.
Thank you!
I would like to be added to this please. #11464529
Please add me to this group. Thank you! #2323334
Please add me to make and take group 3325217 Thank You
I would like be added to. 2608230 Thank you!.
Could I be added as well? YL member #3839182
Please add me to make and take group
Please add me to the fb group. #3788797
id love to be added! member #3023890
I’d love to be added to the group. #10867020. Thank you!!!
I’d love to be added to the group. #10867020. Thank you!!!
Please add me to this group. Member number 10585512. Thank you!
there should be a INVITE print out ! with young living logo and such for us to use! that would be GREAT just a suggestions
This is wonderful please add me as I’m hosting weekly classes at my community clubhouse and the ideas are great.
Thank you for posting
Please add me to this group = thank you for all your suggestions
Please add me to this group…..Thanks so much for all the information and help.
Rose Karluk YL Independent Distributor # 1409825
Please add me to this group. 10728375 Thank you.
Please add me to the make and take group.
Member number 10413783
Thank you!
Please add me to this group. Thank You #1027123